How to Thaw Frozen Food Safely for Plate Sales
Build a safer thawing plan for plate-sale prep with refrigerator timing, leak controls, cold-water rules, immediate cooking, and clear records.
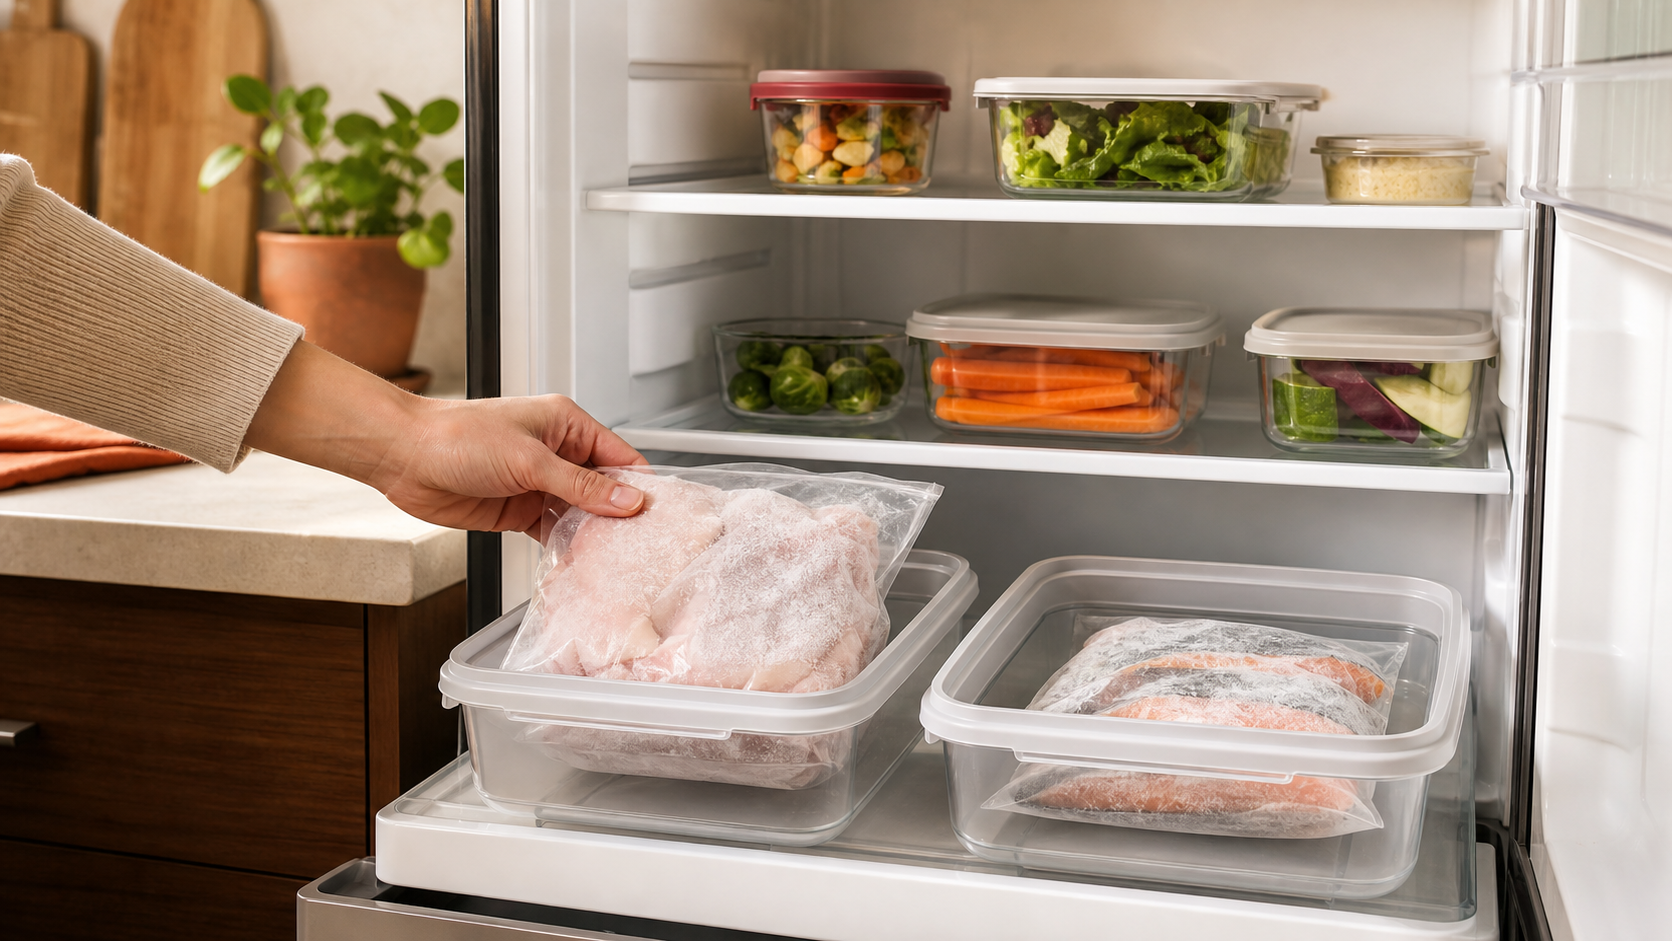
A case of frozen chicken can fit the food budget and still break the production plan if it is solid when prep begins—or left on a counter to catch up. Safe thawing is not empty waiting time. It is a scheduled step with a method, protected location, start time, and immediate next action.
This guide will help you assign every frozen ingredient to a thawing method, prevent raw juices from spreading, test the timing with your real package size, and record the handoff from freezer to cooking. It focuses on foods that need temperature control, such as meat, poultry, seafood, and prepared components.
Food-business rules vary by product, package, facility, and jurisdiction. The FDA Food Code is a model offered for adoption, not one universal rule for every home seller. Confirm the thawing methods, temperatures, sink use, records, and corrective actions required by your state or local authority before putting this workflow into service.
Give every frozen item a thawing decision
Start with the production recipe, not the night before the sale. List each frozen ingredient and answer five questions:
- What exact product, package size, and quantity does the batch require?
- Which thawing method is allowed for that food and operation?
- How long did that package take in a realistic test?
- Where will it be contained while thawing?
- Does it move into storage, preparation, or immediate cooking afterward?
The USDA safe-defrosting guide describes three consumer methods: refrigerator, cold water, and microwave. It also says food may be cooked from frozen when the cooking method is suitable. A business procedure may be more specific, so translate the allowed method into a line on your plate-sale production schedule.
Do not thaw perishable food on a counter, in hot water, on a porch, or in a vehicle. CDC advises refrigerator, cold-water, or microwave thawing because the outside can warm while the center remains frozen. A frozen middle does not prove the surface stayed under control.
Make refrigerator thawing the planned default
Refrigerator thawing is usually the easiest method to control because the food remains inside cold storage. USDA consumer guidance uses a refrigerator at 40°F or below; the current FDA model requires thawing time/temperature control for safety food under refrigeration that maintains the food at 41°F or less. Use the limit adopted for your business and the more conservative operating target in your procedure.
Set up the package before it enters the refrigerator:
- Inspect it for tears, broken seals, or unexplained thawing.
- Put it in a clean, leakproof secondary container that can hold any liquid.
- Identify the product, quantity, batch, thaw start, and intended cook date without covering required package information.
- Place raw food in its assigned low zone, separated from ready-to-eat ingredients.
- Leave enough space for airflow and normal door closure.
CDC recommends sealed storage that prevents raw juices from reaching other food. The detailed refrigerator organization workflow shows how to protect cooked and ready-to-eat items above contained raw food.
Do not estimate thaw time from memory. Package shape, thickness, stacking, refrigerator load, shelf location, and temperature all matter. USDA notes that even a pound of ground meat or boneless chicken breasts can require a full day in a refrigerator. Treat that as planning guidance, not a guaranteed schedule for your product.
Test thaw time with the package you buy
Run a controlled test before accepting orders that depend on a frozen case. Use the actual brand, package weight, refrigerator zone, secondary container, and planned quantity. Record when the item enters the refrigerator and when it reaches the condition required for its next approved step.
Do not open a customer batch repeatedly just to check it. When needed, use a separate representative test package and the thermometer procedure accepted by your regulator. The food-thermometer accuracy routine helps you verify the device before relying on its reading.
Suppose a tested five-pound package takes 36 hours to thaw under your normal loaded-refrigerator conditions. For a Friday 2 p.m. prep start, the schedule would place that package in its assigned bin by early Thursday morning, with a documented completion check before prep. Those times are an example from an imagined test, not a safe timetable for every food.
If the test package is still frozen at the planned checkpoint, revise the purchase unit, thaw start, menu quantity, or cooking method. Smaller approved packages can make timing more predictable and let you thaw only what paid orders require. Do not move the package to a counter to save the schedule.
Treat cold-water thawing as active work
Cold-water thawing is not a set-it-and-leave-it shortcut. USDA’s consumer method calls for food in a leakproof package, submerged in cold tap water, with the water changed every 30 minutes, followed by immediate cooking.
The FDA Food Code thawing section describes a different professional model: food completely submerged under running water at 70°F or below, with enough flow and time controls to keep thawed portions within the stated limits. Your adopted business rule may therefore be stricter than a consumer instruction.
Before using this method, confirm that your authority permits it and that the required sink and water flow will not conflict with handwashing, warewashing, produce preparation, or another task. Then record:
- Package condition and leakproof containment
- Water method and required temperature
- Thaw start and monitoring times
- Person responsible for the process
- Cooking equipment and batch ready to receive the food
If the bag leaks, the water warms beyond the allowed condition, the process is interrupted, or the cooking step is not ready, stop and follow the documented corrective action. Do not silently switch methods halfway through.
Move microwave-thawed food straight into cooking
A microwave can thaw unevenly: one area may warm or begin to cook while another remains icy. USDA and University of Minnesota Extension freezing guidance therefore direct microwave-thawed food into immediate cooking.
Build microwave thawing as one uninterrupted production task. The cook, clean equipment, recipe, cooking vessel, and required monitoring should all be ready before the microwave starts. In the FDA model, microwave thawing is allowed when the food is immediately transferred to conventional cooking equipment without interruption.
Do not microwave-thaw a tray, return it to the refrigerator, and plan to cook it later. Do not partially cook a batch, pause service, and assume the remaining cooking step will fix an uncontrolled wait. If your kitchen cannot move directly into cooking, choose refrigerator thawing or revise the schedule.
Decide when cooking from frozen fits
Some foods can move directly from frozen storage into an approved cooking process. This can remove a separate thaw step, but it does not remove the need for a validated recipe, correct equipment, and a final temperature check.
USDA says frozen meat and poultry may take approximately 50 percent longer to cook than thawed equivalents. That figure is consumer planning guidance, not a batch formula. Test the exact food and quantity rather than adding 50 percent to an old schedule and hoping the center cooks evenly.
Check the manufacturer’s cooking instructions, your recipe, and local requirements. Make sure the equipment can cook the frozen load without overfilling, scorching the outside, or delaying other batches. Record the actual time and verified result, then update the standardized recipe and portion plan if cooking from frozen becomes the approved method.
Protect special packages and uncertain food
Do not remove food from its original packaging merely to make thawing faster unless the approved process calls for it. The label may contain handling directions that control the method.
Reduced-oxygen packaged fish deserves a specific check. The FDA model says fish labeled to remain frozen until use must be removed from the reduced-oxygen environment before refrigerator thawing, or before or immediately after running-water thawing as specified. Follow the exact package label and the rule adopted by your regulator; do not leave vacuum-packed fish thawing unopened by habit.
Refreezing also needs a decision based on documented history, not appearance. USDA allows some food thawed under refrigeration to be refrozen without cooking, although quality may decline. That consumer guidance is not automatic permission to return a sale batch to inventory. If the start time, temperature control, package condition, or product identity is uncertain, isolate the food and follow your approved discard or corrective procedure.
After raw-food leakage, use the full cleaning and sanitizing schedule for the affected bin, shelf, sink, tools, and touchpoints. Moving the package does not complete the reset.
Close the thawing record before prep
Use one line for each package or batch:
| Product and batch | Method | Start | Completion check | Next action | Initials |
|---|---|---|---|---|---|
| Chicken, batch A | Refrigerator, contained low shelf | Thu. 1:30 a.m. | Fri. 1:00 p.m.; approved condition | Cook batch A at 2:00 p.m. | AB |
That row is an example, not a universal thaw time. Your record should also capture any leak, late start, method change, out-of-range condition, or discarded package.
Before prep, confirm seven points:
- Approval: The food, package, method, and facility are allowed.
- Quantity: Only the amount tied to the production plan is thawing.
- Containment: Raw juices cannot reach ready-to-eat food or clean equipment.
- Timing: A tested start and completion checkpoint are on the schedule.
- Control: Refrigerator, water, microwave, or cooking conditions match the procedure.
- Handoff: Cold-water and microwave methods move into immediate cooking when required.
- Correction: A leak, delay, uncertain history, or failed check has a written action.
Start with the frozen ingredient that most often delays your prep. Test one real package, give it a protected location and batch ID, and write the next cooking step beside the thaw start. The Selling Plates guide can help connect that control to the wider menu, pricing, ordering, and sale-day plan.
Ready to move?
Turn the research phase into your first sale.
The guide brings pricing, menu planning, marketing, and setup into one clear playbook.
Get the guide on Gumroad