How to Build a Preorder System for Weekly Plate Sales
Build a repeatable preorder workflow with clear cutoffs, paid-order tracking, capacity limits, pickup slots, confirmations, and customer policies.
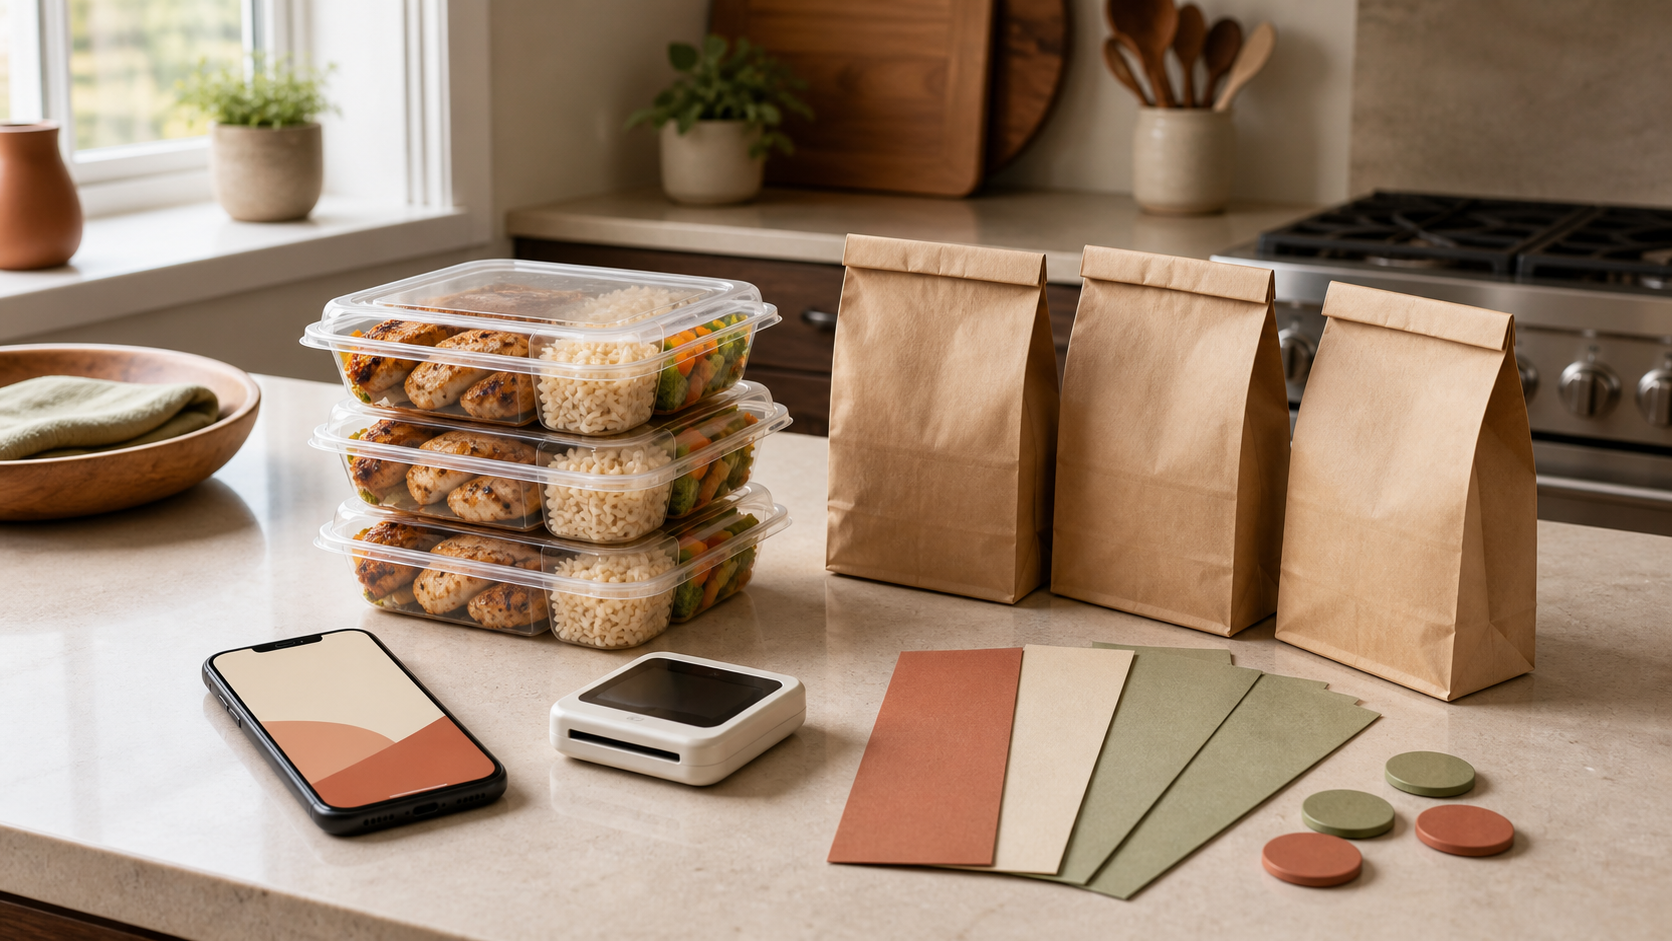
A customer commenting “I need two” is useful interest, but it is not yet a production instruction. You still need the exact items, quantity, payment status, pickup window, contact details, and any question that must be resolved before cooking. When those pieces live across comments, direct messages, and payment notifications, it is easy to count the same order twice or prepare food for someone who never finished checkout.
This guide will help you build one weekly preorder path from menu post to locked production count. You will set a real cutoff, cap what the kitchen can make, separate requested orders from paid orders, assign pickup windows, send confirmations, and close with a clean roster that feeds the next sale-day plan.
A preorder system does not make a food or home kitchen legal to use. Confirm the current permit, food, labeling, tax, privacy, and record requirements for your product and jurisdiction before accepting money.
Define the drop before you open orders
Write the offer as if a customer will see only one screenshot. It should answer:
- What is included in each plate and each add-on?
- What does each item cost, including required fees?
- When and where will fulfillment happen?
- Is the order pickup, delivery, or one defined option?
- When do preorders close?
- When is payment due?
- What happens if an item sells out first?
Use one date, time zone, and fulfillment location throughout the form, checkout, post, and confirmation. “Friday evening” creates room for different assumptions; “Friday, 5:00–6:30 p.m. pickup, address sent after confirmation” creates an operating boundary.
Preordering and scheduling are related but not identical. Square’s current documentation distinguishes an item sold before its availability date from an available item that a customer schedules for later. For a weekly menu drop, the useful parts are the same: publish the fulfillment date, define the hours, and set a cutoff after which the item cannot be ordered.
Choose the cutoff by working backward from the first task that depends on final quantities. If you need the paid count before placing a supplier order on Thursday morning, a Thursday-night cutoff is too late. Leave enough time to reconcile payments, contact customers about incomplete orders, buy ingredients, and update your production schedule for the sale day.
Set two capacity caps
Your system needs a food cap and a handoff cap. They solve different problems.
The food cap is the maximum paid quantity of each item you can produce with your tested recipe yields, equipment, cold and hot storage, packaging, and labor. If your chicken recipe makes 12 verified portions and two batches fit the schedule, the starting cap may be 24—not whatever number the post happens to attract.
The handoff cap limits how many orders can arrive in the same window. Square’s pickup configuration options include lead time, cutoff time, scheduled pickup, large-order limits, and a limit per pickup window. You can reproduce that logic in any tool.
For example, a 24-plate drop could offer three 30-minute windows with eight orders in each. That is an example, not a benchmark. Test how long it takes to identify a customer, retrieve the right bag, verify the order, and complete the handoff without losing control of later food.
Do not keep a hidden “extra five” for people who message after the form closes. Either include a small, costed buffer in the published cap or close at the number you can fulfill. Quiet exceptions make the roster unreliable and teach customers that the cutoff is optional.
Build one order record
Whether you use a storefront, an order form, or an invoice, each submission should create one row with the same required fields:
| Field | Why it belongs |
|---|---|
| Order ID | Connects the form, payment, label, and handoff |
| Customer name | Identifies the buyer without relying on a social handle |
| Contact method | Supports confirmation and service-day changes |
| Menu item and quantity | Creates the production count |
| Approved choices | Captures sides, spice level, or permitted add-ons |
| Pickup window | Controls handoff capacity |
| Amount due and paid | Separates requests from confirmed sales |
| Status | Shows requested, awaiting payment, paid, canceled, or refunded |
A form can be a practical first version. Google documents that form responses can feed a linked Google Sheet, which puts responses into a structured table. Review access to both files: Google notes that form and response-sheet permissions are not automatically kept in sync after later changes.
Keep free-text fields to a minimum. A dropdown or checkbox produces cleaner counts than twenty versions of “mac and cheese.” If a choice is not available, do not invite customers to request it in an open notes box.
For allergy-related questions, collect enough information to decide whether you can accept the request, but do not promise a meal is allergen-free. Route the request through the documented food-allergy order decision before marking it paid and accepted.
Treat payment as a separate status
A submitted form is a request until your chosen payment rule is satisfied. Use clear states instead of highlighting rows from memory:
- Requested: The customer submitted the order.
- Awaiting payment: The items are temporarily held under your published rule.
- Paid: The payment record matches the customer, amount, and order.
- Confirmed: You have sent the final item and pickup details.
- Fulfilled, canceled, or refunded: The order has a closed outcome.
Hosted checkout keeps card handling out of your messages and general order form. Stripe documents shareable, no-code Payment Links that can be posted or sent by email or text, issue receipts, and limit completed purchases. Other processors offer different features and fees, so verify the current terms before choosing one.
If the payment tool and order form are separate, give customers an order ID to enter at checkout when the tool supports an appropriate custom field, or reconcile with a consistent name and email. Stripe’s checkout customization guidance supports selected contact fields and warns against collecting personal, protected, or sensitive data in custom fields.
Never ask a customer to type a card number, security code, bank password, or account login into a form, text, or direct message. The Federal Trade Commission advises businesses to collect and retain only personal information they actually need and specifically cautions against unnecessary payment-card retention.
Put policies before the payment button
Decide what happens when a customer cancels, misses the cutoff, arrives late, requests a substitution, or needs a seller-caused refund. Then show the short policy before payment—not for the first time after a problem.
Cover at least:
- The date and time after which customer cancellations may not be refundable
- What happens when you cannot fulfill an accepted order
- Whether substitutions are ever made and how approval works
- How late pickups are handled within your permitted holding process
- How customers contact you and when they should expect a reply
Use plain language that matches what you can actually administer. Square’s dispute guidance for canceled food and beverage orders emphasizes clearly disclosed cancellation or refund terms and records of customer acknowledgment. A policy does not guarantee the outcome of a dispute, but an invisible or inconsistent policy is hard for either side to follow.
Apply the same rule consistently. If you choose to make an exception, record what happened rather than silently changing the original order.
Close, reconcile, and confirm
At the published cutoff—or sooner when a real cap is reached—stop accepting responses and replace the order link with a clear closed message. Google Forms, for example, lets an owner stop accepting responses and show a custom message.
Then reconcile before buying or cooking:
- Sort the roster by order ID.
- Match every successful payment to one submitted order.
- Flag unpaid, underpaid, duplicated, or unmatched entries.
- Resolve each exception by a stated deadline.
- Mark refunds or cancellations in the same roster.
- Total paid quantities by menu item and pickup window.
- Send each confirmed customer the final summary.
The confirmation should repeat the order ID, items, total paid, fulfillment date, exact pickup window, location instructions, contact method, and applicable policy. Do not make customers search an old social post for the detail that controls their order.
Export only paid, accepted orders to labels, recipe quantities, packaging counts, and the standardized recipe yield plan. Keep unresolved requests out of production totals until they are genuinely confirmed.
Test the system with twelve sample orders
Before sharing the link publicly, run a rehearsal. Enter twelve sample orders with different quantities, sold-out items, pickup windows, one failed payment, one cancellation, one approved refund, and one allergy-related question you must decline.
Check whether you can answer five questions without opening direct messages:
- How many paid portions of each item are required?
- Which pickup windows are full?
- Which customer has not completed payment?
- Which order changed, and what is its current version?
- Which rows are ready to become production labels?
If any answer requires guesswork, fix the fields, statuses, or instructions before launch. Once the flow works, save it as the template for the next weekly drop. The broader Selling Plates guide can help connect that order system with the menu, pricing, launch, and repeat-customer plan.
Start with one menu, one link, one cutoff, and one roster. A preorder system is successful when every paid plate has a clear owner and time slot—and your kitchen receives final numbers it can actually deliver.
Ready to move?
Turn the research phase into your first sale.
The guide brings pricing, menu planning, marketing, and setup into one clear playbook.
Get the guide on Gumroad