How to Keep Cold Food Cold for Pickup and Delivery
Keep refrigerated plate orders cold with a tested carrier, enough frozen packs, representative temperature checks, and a controlled handoff plan.
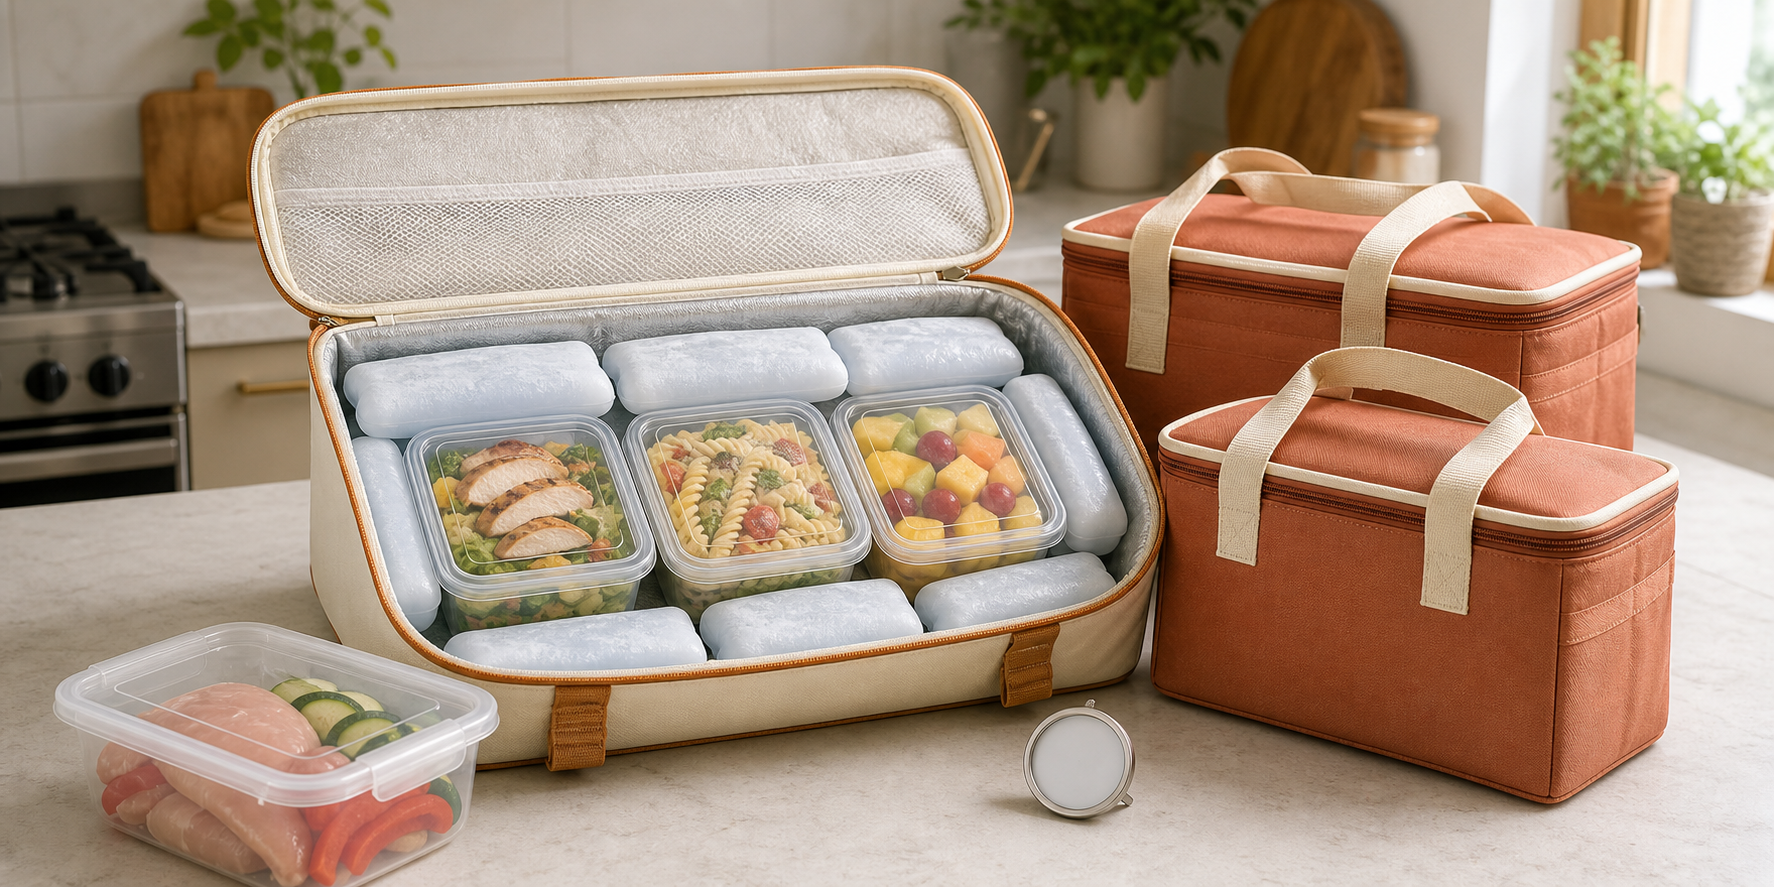
A cold meal can leave the refrigerator in good condition and still arrive too warm. The carrier may be partly empty, the gel packs may sit only on the bottom, the lid may open at every stop, or finished orders may wait in a parked car while the next customer runs late. A sealed container protects against spills; it does not control temperature by itself.
Build a cold-chain workflow from kitchen release to customer handoff: choose the controlling limit, load for the actual menu, measure representative food, test the route, and write a corrective decision before the first order leaves.
Selling refrigerated meals from a home kitchen is not allowed everywhere. Confirm the foods, facility, cold-holding limit, transport equipment, time controls, records, and delivery area permitted by your state or local regulator before taking orders. The FDA Food Code is a model used by jurisdictions, not one nationwide rule for every home seller.
Set one cold limit for the operation
Start with the rule that governs your permit and food. The current FDA model Food Code uses 41°F or less for cold holding of time/temperature control for safety food. USDA and university consumer guidance often uses 40°F or colder for coolers. Name the source of your limit before a failed check happens.
Write an operating statement such as:
Chilled orders remain at or below the limit required by our regulator from kitchen release through handoff. Our internal target is 40°F or colder to leave a small operating margin.
That is an example, not a universal policy. Replace it with the current requirement and any approved monitoring or time-based procedure for your operation. Time out of temperature control is not a backup you invent when the ice melts; the FDA model treats it as an advance written process with time identification and discard controls.
Classify each menu component with your regulator so the carrier is built around the actual risk, not around whether a food feels cool to the touch.
Chill the food before it enters the carrier
An insulated carrier slows heat transfer. It is not a rapid-cooling machine. If a dense container enters warm, surrounding it with frozen packs may leave the center too warm while the outer food feels cold.
Finish any cooked-food cooling under the verified process in the guide to cooling cooked food for advance orders. Then hold the closed portions in a refrigerator that has already passed the loaded-capacity checks in the refrigerator organization workflow.
USDA advises starting a trip with food already refrigerated or frozen, and University of Minnesota Extension says to pack food directly from the refrigerator into the cooler. Apply that literally:
- Complete cooling before packing and close each portion in a watertight food container.
- Refrigerate finished containers until the carrier and route are ready.
- Freeze gel packs completely and prechill a warm carrier when its instructions allow.
- Release only food that passes the required representative temperature check.
Load in small groups, close the carrier, and keep remaining orders in verified cold holding.
Build a carrier around the real load
Test the carrier with the same containers, portions, cold sources, and empty space you will use on sale day. A cooler that works with six frozen bottles may fail with twelve room-temperature clamshells and one small gel pack.
The USDA recommends an insulated cooler with several inches of ice or frozen gel packs, while Minnesota Extension notes that a closely filled cooler stays cold longer than a partly filled one. No universal gel-pack count fits every carrier, load, route, and weather condition.
Use a layered load:
- Put cold sources beneath, beside, and above sealed meals.
- Arrange containers snugly without crushing lids or blocking closure.
- Fill safe voids with extra frozen packs or clean material intended for the carrier.
- Keep food in watertight containers, then close and latch the carrier immediately.
Do not pack a warm drink, room-temperature sauce, or newly cooked add-on into a released cold carrier. Give beverages their own cooler if customers or drivers will open it repeatedly. USDA specifically recommends separating the drinks cooler from the more perishable food carrier to reduce warm-air exchange.
If raw ingredients ever share transport, use a separate carrier. At minimum, keep them in a leakproof container below and physically separated from ready-to-eat food, as the USDA outdoor food-safety guide advises. For customer-ready orders, the cleaner system is to exclude raw production ingredients entirely.
Measure the food and the carrier
An appliance thermometer can reveal a warming trend, but air and food temperatures are not interchangeable. A display beside a frozen pack can look reassuring while a dense meal elsewhere warms first.
Use two kinds of information:
- Carrier trend: Place an appropriate readable thermometer where your test identified the warmest representative area, not directly against a gel pack.
- Food release and route checks: Use a clean, sanitized, accurate food thermometer on representative containers or a validated simulated-food test container under your approved procedure.
The FDA model’s inspection guidance calls for food-temperature measurements during transport. Its exception for permanently affixed thermometers on insulated containers does not make the carrier itself evidence that food stayed cold.
Choose sample points before the run: for example, one meal from the upper outer corner, one from the center, and one from the last delivery group. Use the sensing area correctly and clean and sanitize the probe between samples. The food-thermometer calibration routine explains how to check the device, place its sensor, and record the instrument ID.
Record the batch, carrier ID, load time, starting food readings, route check, final handoff check, and initials. If an air display rises but representative food remains compliant, shorten the next check interval. If a food reading fails, follow the written corrective rule rather than averaging it with colder containers.
Control pickup and delivery as separate routes
For pickup, the main risks are staging too early and opening the carrier for late arrivals. Delivery adds repeated stops, traffic, sunlight, and vehicle heat.
Build pickup around the confirmed time slots in the preorder system. Keep future orders in verified refrigeration or a closed tested carrier, retrieve one order at a time, and close the lid before checking the customer name. Do not place a row of cold bags outside simply because all customers received the same arrival window.
For delivery:
- Map the stop order before loading.
- Put later orders deeper in the carrier so early stops do not expose them.
- Keep the carrier in the air-conditioned passenger area, secured from tipping, rather than in the trunk.
- Park in shade when practical and never leave the carrier in a stopped vehicle longer than the tested plan allows.
- Contact the next customer before arrival so the handoff is ready.
- Record delays that push the route outside its tested conditions.
Minnesota Extension specifically advises keeping coolers out of heat and out of the trunk. USDA likewise recommends keeping the food cooler closed and shaded. Those controls are simple, but they need to appear in the driver’s route sheet instead of living as unwritten advice.
Run one loaded route test
Do not discover carrier capacity with paid orders. Use the intended containers filled with a food-safe test load that behaves like the real portions, the exact frozen packs, the actual vehicle position, and the longest planned pickup or delivery pattern.
Create a test table:
| Checkpoint | Record |
|---|---|
| Refrigerator release | Food temperatures, carrier ID, cold-source count and position |
| Load complete | Time, carrier trend reading, lid fully closed |
| Mid-route | Representative food and carrier readings, outside conditions, openings |
| Final handoff point | Warmest representative food reading and elapsed time |
| Return | Remaining food disposition and equipment condition |
Test a warm day and the fullest expected load. Repeat after changing the cooler, meal size, gel-pack layout, vehicle location, route, or opening pattern.
If the carrier misses the limit, reduce the route, add or reposition frozen packs, use a better-sized carrier, split orders into smaller runs, or stage from approved refrigeration. Change one variable, repeat the test, and document the result.
Write the failed-check decision in advance
A temperature outside the limit is a hold signal, not an invitation to smell the food, add fresh ice, and continue. New ice may cool the surface later; it does not erase the batch’s unknown time-temperature history.
Write who has authority to stop the route, where affected orders are isolated, how time and temperature history are reconstructed, when the regulator is contacted, and which approved disposition applies. FoodSafety.gov notes that cold foods need ongoing monitoring and that melted ice must be drained and replenished, but maintaining the cold source is prevention—not a way to rescue an already uncertain batch.
Customer communication can stay brief: the order cannot be handed off because it did not meet the operation’s temperature-control requirement, and the stated refund or replacement policy now applies. Do not pressure a driver to make up time or ask a customer to accept the risk.
Run a seven-point cold-chain check
Before the first refrigerated order leaves, confirm:
- Permission: The food, kitchen, delivery method, limit, and records match current local requirements.
- Starting condition: Every meal completed its cooling process and leaves verified refrigeration cold.
- Carrier: The exact loaded configuration passed a route-length and warm-condition test.
- Cold source: Frozen packs surround the load without contaminating or crushing containers.
- Measurement: Carrier trends and representative food checks use suitable, accurate devices.
- Route: Pickup slots, stop order, shade, vehicle placement, and lid openings are controlled.
- Correction: A failed check stops the handoff and triggers a written hold, assessment, customer, and disposition process.
Start with one cold menu and one carrier. Photograph the tested pack layout for your operating record, mark the sample locations, and run the longest planned route without customer food. Once the setup holds the required limit reliably, connect it to the menu, preorder, production, and pricing systems in the Selling Plates guide so cold delivery becomes a repeatable service rather than a last-minute promise.
Ready to move?
Turn the research phase into your first sale.
The guide brings pricing, menu planning, marketing, and setup into one clear playbook.
Get the guide on Gumroad