How to Choose Takeout Containers for Plate Sales
Choose takeout containers that fit your menu, survive pickup or delivery, support reheating, control cost, and come with honest disposal directions.
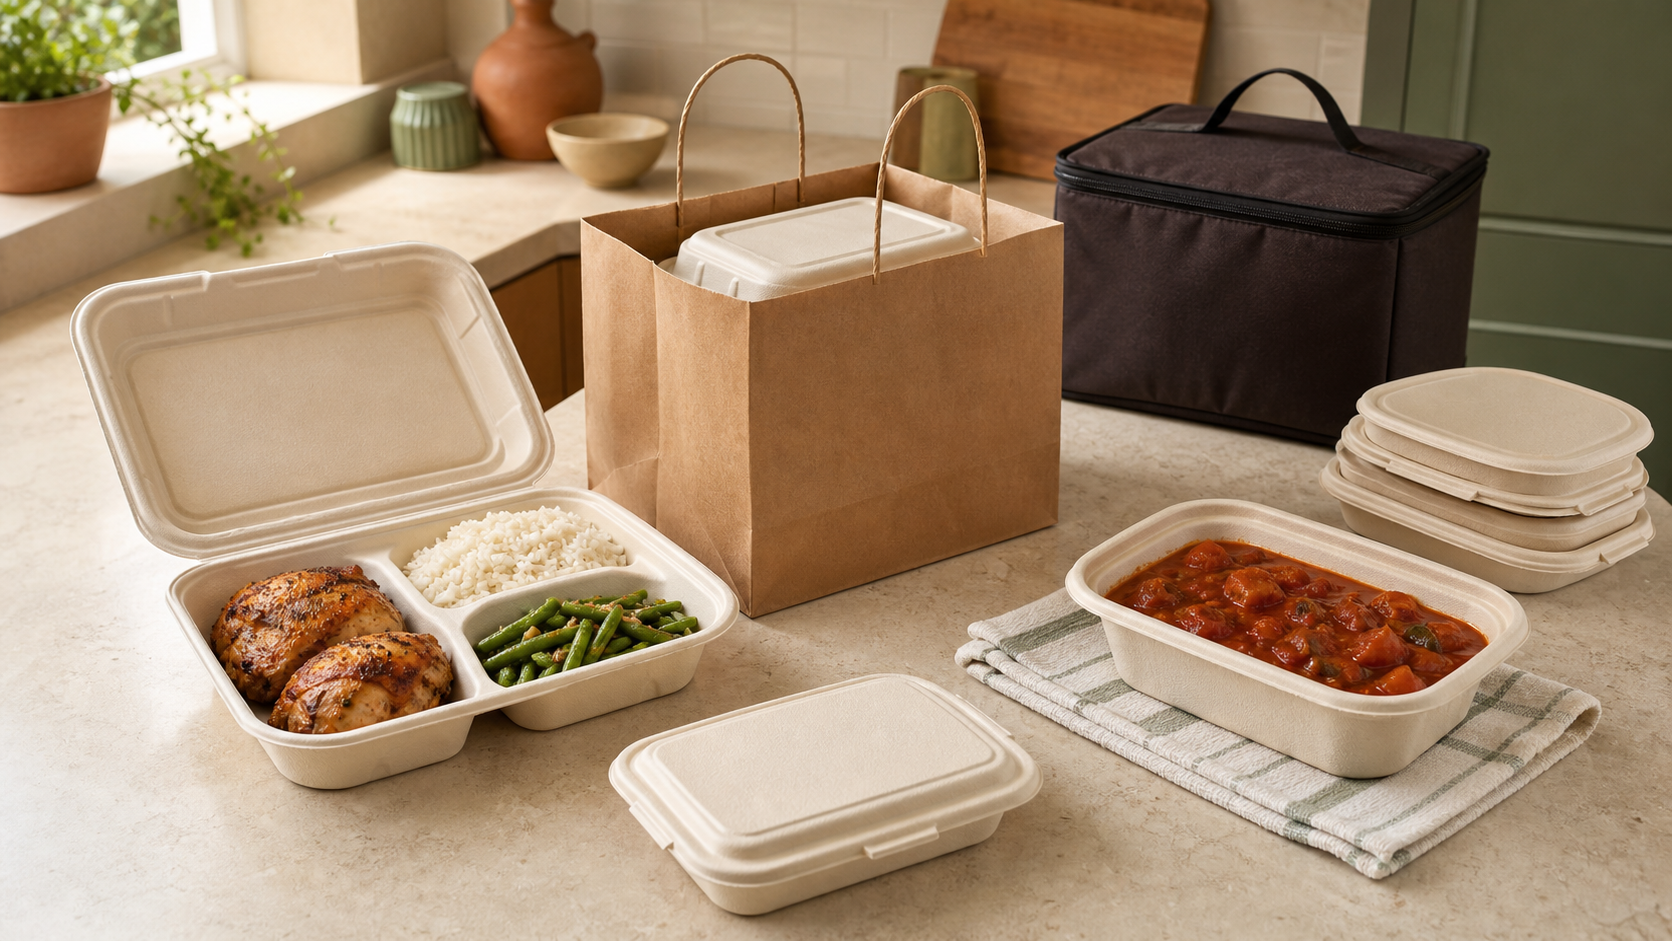
A container can look perfect in a supplier photo and fail as soon as sauce reaches the hinge, steam softens the lid, or three orders are stacked in a carrier.
This guide will help you turn one menu into a packaging specification, check intended-use information, test a complete order, calculate the true cost, and give customers only the reheating and disposal directions you can support.
Start with the food and the handoff
Write the job before comparing containers. For each menu item, record its portion size, shape, temperature at packing, liquid and grease level, pickup or delivery time, and whether components should stay separate.
A shallow rice-and-chicken plate has different needs from a quart of stew. Fried food may lose texture when steam stays trapped. A saucy dish needs a reliable seal and enough headspace that the food does not press against the lid. A cold dessert should not share a hot carrier simply because it fits inside the same bag.
Create one line for each component:
- Food and tested portion
- Hot, cold, or room-temperature service condition allowed by your process
- Base dimensions and usable depth
- Number and size of compartments
- Leak, grease, and stacking demands
- Customer opening and eating method
- Any storage, freezer, oven, or microwave use you plan to promise
- Pickup bag, drink, utensil, sauce cup, and carrier requirements
This list also exposes an overcomplicated menu. Simplifying the offer may protect purchasing and packing better than adding another package. The method for building a production schedule can show where multiple formats delay the packing station.
Verify intended use before ordering a case
Packaging is part of the food-contact system, not decoration. The FDA explains that packaging and its components are food-contact substances. FDA’s safety review considers the intended use and potential migration into food, which is why appearance alone cannot tell you whether a container suits your job.
Ask the supplier or manufacturer for documentation covering the complete base-and-lid combination. Confirm:
- The product is intended for direct food contact.
- The allowed food types include the hot, cold, oily, watery, or acidic food you will pack.
- The temperature range covers packing, holding, transport, and any promised customer use.
- Microwave, freezer, dishwasher, or oven claims apply to both base and lid, not just one part.
- The lid is the exact compatible model for the base.
- Any vent, film, insert, liner, or tamper feature is used as directed.
Save the item number, specification sheet, supplier, purchase date, and case lot when available. If the supplier changes an item, pause and recheck it. “Looks the same” is not a specification.
Packaging and labeling requirements can also depend on the product and facility. FDA’s home-food-business overview directs operators to the federal, state, and local authorities responsible for their circumstances. Confirm what your regulator requires for containers, seals, labels, reuse, and customer instructions before ordering in volume.
Match the container geometry to the portion
Test with the approved finished portion from your standardized recipe, not an empty base. A container that holds the stated volume may still be wrong when a piece of chicken blocks the hinge or a sauce cup tips into a side.
Look for four kinds of fit:
- Food fit: The portion sits below the closure line and keeps components where you intended.
- Closure fit: Every edge closes without forcing, bowing, or catching food in the seal.
- Bag fit: The package stays level and leaves room for labels, cold items, or utensils without crushing.
- Carrier fit: Packed orders can be grouped by pickup slot without tilting, overstacking, or blocking the carrier closure.
Do not use the lid as extra capacity. If closing the package compresses food or pushes liquid toward the rim, choose a deeper base, change the portion layout, or use a separate approved cup. A compartment wall also needs to remain useful during real travel; test whether sauce crosses it when the container is carried, braked in a vehicle, and handed to a customer.
Run a complete packed-order test
Order samples before a case. Prepare the actual recipe, portion it at the normal packing stage, and assemble everything a customer will receive. Then run the route your package must survive.
Use this test sequence:
- Inspect each base and lid for cracks, warping, poor cuts, debris, or a mismatched item number.
- Fill the package with the normal portion and wipe the sealing surface using your approved clean process.
- Close it exactly as staff will on sale day; do not add tape or a second bag to rescue a weak closure unless that is the documented system.
- Label and bag the order, then stack it in the real carrier with a representative load.
- Hold or travel for the longest planned pickup or delivery route under your approved temperature-control process.
- Check for leaks, lid lift, crushed food, grease soak-through, condensation, leaning, odor transfer, and difficult opening.
- Photograph and record the result by menu item and container code.
Test more than the easiest plate. Put the oiliest, hottest, and most liquid approved portions through the process. If a package fails, change one variable—base, lid, fill level, cup, bag, stack, or route—and retest before accepting orders.
Keep packaging separate from temperature control
A sealed lid, insulated bag, or warm exterior does not prove that the food stayed at the required temperature. USDA’s takeout food guidance uses 140°F or above for hot takeout and 40°F or below for cold takeout and calls for a food thermometer. Those are consumer-facing figures; follow the requirement adopted for your business when it differs.
Use the package inside your documented holding plan. The hot-food pickup and delivery workflow explains how to connect representative temperature checks, shorter pickup windows, and insulated carriers. Keep cold sides and desserts in their approved cold setup and combine them with the order at handoff rather than warming them inside a hot carrier.
Record temperature performance and food quality separately. A package may maintain temperature but ruin crispness, or protect texture while losing heat too quickly. Both results matter, but they answer different questions.
Make only reheating promises you tested
“Microwave-safe” should not become an automatic line on every label. Verify the instructions for the exact base and lid, then test the complete food portion using the method you intend to give the customer. A safe container does not guarantee that a dense meal heats evenly.
USDA FSIS says cold-storage tubs such as yogurt or margarine containers are not approved for microwave cooking. Its guidance also rules out metal pans, containers with metal handles, foam-insulated foodware, and packaging that warps or melts during heating.
Do not improvise a microwave claim from a recycling symbol or from another container made of a similar-looking material. Follow the packaging and appliance directions. If the lid must be removed, loosened, or vented, say that clearly. If the food should be transferred to a microwave-safe dish, make that the instruction instead.
Keep food-specific reheating directions within your approved process and verify any temperature claim with the responsible authority. Packaging instructions and food-safety instructions belong on the same customer handout, but one does not prove the other.
Count the cost of the completed order
Compare usable packed-order cost, not the advertised price per base. Include lids, sauce cups, liners, seals, labels, bags, cutlery you actually provide, shipping, tax, damaged units, and the labor created by a difficult closure.
Use this calculation:
Delivered case cost ÷ usable complete sets + order-specific extras = packaging cost per order
For example, suppose 100 base-and-lid sets cost $78 delivered, but four are damaged or do not close correctly. The usable set cost is $78 divided by 96, or about $0.81. Add an $0.11 sauce cup, $0.18 bag, and $0.04 label, and the completed order costs about $1.14 to package. Those figures are an illustration, not a market benchmark.
Put that amount into the food plate pricing method instead of treating packaging as free. Also record failed samples and obsolete case inventory in your food and packaging waste log. A cheaper case is not cheaper when lids fail, portions leak, or three slow closure steps extend every order.
Give honest reuse and disposal directions
Words such as reusable, compostable, and recyclable describe a possibility only when a real system supports it. EPA’s food-service-ware guidance prefers reusable ware when an effective collection, washing, and return system exists. Its federal-purchasing guidance also says commercially compostable items should be chosen only where a local commercial program accepts them, and recyclable items only where the local recycling program takes them.
Check the customer’s likely disposal area, not just your supplier’s marketing line. A compostable container may belong in trash where no accepting commercial facility or collection route exists. A recyclable material may still be rejected because of food residue, shape, size, or local equipment.
Write the narrow instruction you verified: for example, “Check your local program for acceptance” is more honest than printing a universal claim. If you offer returnable containers, confirm that the system is allowed, then document container ownership, deposits if used, return inspection, washing and sanitizing, storage, retirement criteria, and what happens when a container does not return.
Before approving a package, make sure you can answer yes to five questions: Is it documented for the exact food and use? Does the finished portion fit and close cleanly? Does it survive the real handoff while your temperature controls still work? Are reheating and disposal directions accurate? Is the complete usable cost in the plate price?
Start with the menu item most likely to leak or lose quality. Buy samples, run one complete packed-order test, and record the pass or failure before committing to a case. That small trial turns packaging from a last-minute supply purchase into a repeatable part of the plate.
Ready to move?
Turn the research phase into your first sale.
The guide brings pricing, menu planning, marketing, and setup into one clear playbook.
Get the guide on Gumroad