How to Check Cooking Temperatures for Plate Sales
Build a batch cooking-temperature check for plate sales with the right food standard, cold-spot readings, clear corrections, and a useful log.
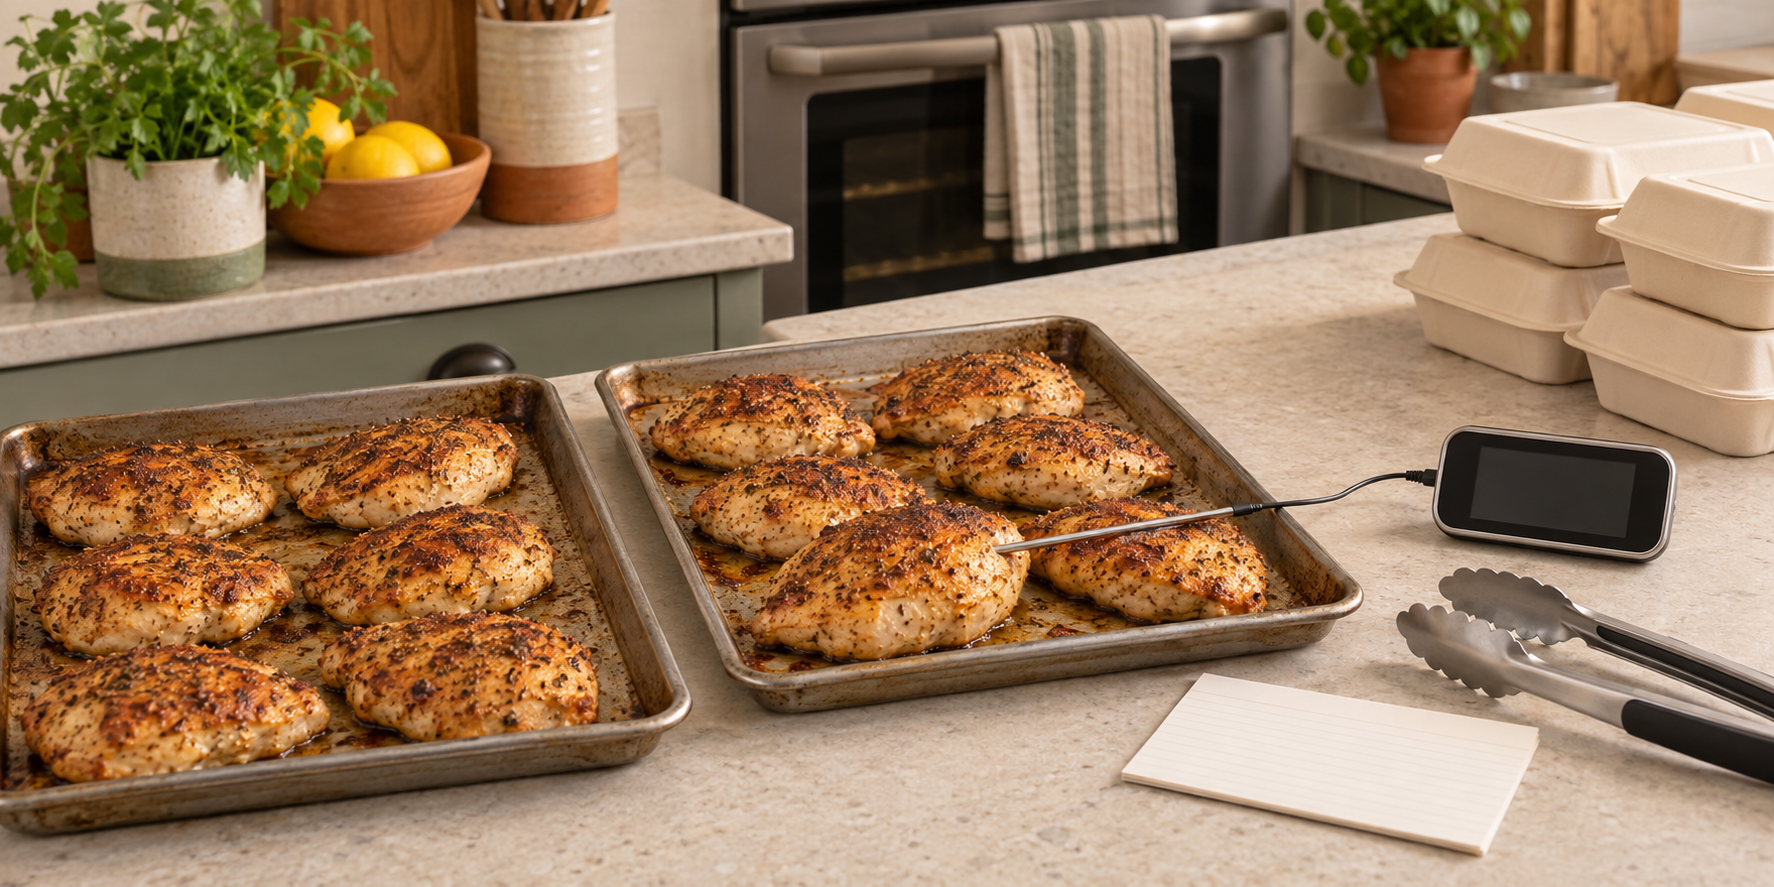
A pan can look browned at the edges while its thickest portion is still below the required cooking temperature. In a busy plate-sale kitchen, checking the easiest piece or trusting the oven timer can release a whole batch on weak evidence.
This guide will help you build a cook check around the food you actually sell. You will identify the controlling standard, choose likely cold spots, measure more than one useful location, let the lowest valid reading control the decision, correct a failed check, and leave a short batch record.
This is not permission to sell meat, poultry, seafood, eggs, or other temperature-controlled food from a home kitchen. The FDA Food Code is a model for retail food regulation, and jurisdictions adopt and modify it differently. Confirm the current requirement, approved process, equipment, records, and facility with your state or local authority before selling.
Confirm the controlling cook standard first
Do not put one temperature at the top of every recipe. The food’s identity and form matter: an intact cut is not the same as ground meat, poultry is not fish, and a stuffed item can have a different rule from either ingredient on its own. Cooking method matters too. A microwave process, whole roast, reduced-oxygen process, non-continuous cook, approved variance, or food with manufacturer cooking instructions may need its own time-and-temperature route.
Start each approved recipe with a release line that names:
- the exact food and form being cooked;
- the controlling authority, approved plan, or manufacturer instruction;
- the minimum internal temperature;
- the time that temperature must be held, if required;
- any rest or covered standing time;
- the locations or pieces that must be checked; and
- the correction if any valid reading falls short.
The current FDA model cooking provisions use different time-and-temperature combinations for categories such as fish and intact meat, non-intact or comminuted foods, poultry, and stuffed foods. That table is a planning reference, not a substitute for the version your regulator has adopted.
Classify the product before choosing a number
Federal consumer guidance also shows why a single memory rule is unreliable. The current FoodSafety.gov minimum-temperature chart lists 165°F for poultry and casseroles, 160°F for ground meat and egg dishes, and 145°F with a three-minute rest for specified intact cuts of beef, bison, veal, goat, lamb, pork, and raw ham. It treats some seafood and precooked products differently.
Use that chart as a consumer cross-check, then write the rule that controls your business. Do not silently apply a temperature from a steak to a burger, from a plain chicken portion to stuffed chicken, or from an initial cook to reheating. If a supplier changes the product from fully cooked to not-ready-to-eat, pause the recipe and review the new label and instructions before production.
Connect this decision to the standardized recipe. A recipe version should identify the cut, thickness or portion range, pan arrangement, batch size, equipment, and cook check. If one of those variables changes, the old check locations may no longer represent the new batch.
Build the check plan before the food heats
A useful plan asks where this batch is most likely to be coolest. Consider the thickest pieces, the center of a dense casserole, crowded areas, pans in different oven positions, and portions that began colder than the rest. The timer tells you when to start measuring; it does not prove that the food is ready.
Write a check pattern that fits the real equipment and batch. For two sheet pans, that might include thick portions from different pan zones and any visibly larger piece. For a pot of a permitted mixed dish, it may include the center and other points after the approved stirring step. The number of checks must come from your regulator, food-safety plan, product, and validated process—not from a universal sample count in this article.
Place that check beside the relevant task in the production schedule. Assign one person to make and record the release decision. If everyone assumes someone else checked, a temperature line can be filled from memory after the food is already packed.
Put the sensing area in the likely cold spot
The USDA FSIS thermometer guide says color and texture are not reliable safety checks. It directs cooks to place the thermometer in the thickest part away from bone, fat, and gristle; thin foods should be entered from the side so the sensing area reaches the center.
Before the cook, confirm that the probe type fits the food. A thick-stem dial thermometer may average temperature along a longer section and miss the center of a thin patty. A small-diameter, tip-sensitive probe can fit a thinner portion. Read the manufacturer’s instructions for sensing location, insertion depth, response time, and whether the device can remain in the oven.
Use a clean, sanitized probe under your approved procedure. The Institute of Child Nutrition’s thermometer guidance instructs food workers to clean and sanitize thermometers before use and let the stem air-dry. Insert the sensing area fully into the target without touching the pan, wait for the reading to stabilize, and record it before moving to the next piece.
USDA also notes that size, quantity, and distribution can make pieces finish at different times and advises checking large or irregular foods in several places. For a commercial batch, use the locations and number of checks required by your regulator or approved plan rather than treating any general example as a sampling rule.
This workflow assumes the device itself is trustworthy. If it was dropped, shocked, or has not had its scheduled accuracy check, stop and follow the food-thermometer calibration routine before using its reading to release food.
Let the lowest valid reading control release
Do not average a low temperature into several high ones. If the check locations were valid, the lowest reading shows that at least part of the batch has not yet met the written release standard.
Keep the affected food out of packing and service. Continue the approved cooking process when it is safe and permitted to do so, protect the food from contamination, and repeat the check at the failed location and other required points. The FDA’s inspection guidance treats food below the required cook temperature as out of compliance when it is offered for service instead of being returned to cooking.
Do not erase the failed reading. Record it, the corrective action, the new readings, and the final decision. If you cannot identify the batch, cannot obtain a trustworthy measurement, cannot complete the approved correction, or have exceeded another time or process limit, hold the food and contact the responsible authority rather than inventing a rescue.
Once the initial cook passes, move the food into its next controlled step. The cook record does not replace the hot-holding and handoff plan, and a later reheating process needs its own rule and record.
Work through one batch example
Suppose an approved recipe produces 18 boneless chicken portions across two sheet pans. The written release line uses the poultry standard that controls this operation and identifies thick pieces from both pans plus any visibly larger portion as check points. This check pattern is an example, not a regulatory sampling rule.
At the first check, several portions pass but the thickest piece near the center of the second pan reads below the release standard. The cook records that number and keeps both pans out of packing. Following the approved recipe, the batch returns to cooking. The probe is cleaned and sanitized, and the failed location plus the other required points are checked again. Only after every required reading and condition passes does the cook record the release time and move the batch forward.
The useful lesson is not the number of pieces checked. It is the decision chain: defined batch, written standard, representative locations, lowest-reading control, visible correction, complete recheck, and named release.
Keep a record that can explain the decision
The Institute of Child Nutrition food-thermometer fact sheet says temperature readings can be recorded on a production record or a separate cooking and reheating log. Your authority may require a particular form. If not, a practical cook record can include:
| Batch | Standard | Time and locations | Readings | Correction | Release |
|---|---|---|---|---|---|
| Chicken portions, batch C1 | Approved poultry cook line | 4:18 p.m.; required points on pans A and B | Record every reading; circle the lowest | Continued approved cook; cleaned and sanitized probe; full recheck | Time, decision, initials |
Keep the recipe version, thermometer ID, and any required hold or rest time where they can be reconstructed. Record the actual result, including a failure that was corrected. A perfect-looking log with no low reading ever recorded is less useful than an honest record that shows the system caught a problem before sale.
Run a final cook-release check
Before the next menu drop, verify eight points:
- Permission: The food, facility, and cooking process are currently allowed.
- Standard: The exact product has a written temperature, time, and rest or standing condition.
- Tool: The thermometer is accurate, clean, suitable for the food, and used as its manufacturer directs.
- Pattern: Check locations represent different pans, zones, sizes, or likely cold spots.
- Placement: The full sensing area reaches the center without touching bone or the pan.
- Decision: The lowest valid reading controls whether the batch continues cooking or is released.
- Correction: Failed readings remain visible and trigger the approved recheck.
- Handoff: A passing cook moves directly into the correct holding, cooling, packing, or service step.
Start with the raw animal food used in your highest-volume plate. Add one cook-release line to its approved recipe and rehearse the check with the full batch and equipment you plan to use. The Selling Plates guide can help connect that control to the wider menu, pricing, ordering, and sale-day system around it.
Ready to move?
Turn the research phase into your first sale.
The guide brings pricing, menu planning, marketing, and setup into one clear playbook.
Get the guide on Gumroad